Thought I’d show everyone my wood shop/man cave. Our house is about 150+ years old and we started doing some major remodeling last spring. One thing led to another, and another, and so on. Since we don’t have a carriage house or barn, and there was a small, unused space on the back part of the house, we decided to add on a work/storage area. It’s only about 16’ x 12’ but we felt it would be a cheap and much needed area, at the least, for storage.
My dad helped with doing the framing and electrical work. My son-in-laws brother and their dad did the siding (they sided the rest of the house as well). The interior only measures about 14’ wide by 11-1/2’ deep. I had just enough room to add a loft across the span that is about 4’ deep for storage. I know it will fill up fast!
I just got the lighting finished and the loft boards planed and installed this past weekend. The lumber is Ash boards cut from my dad’s timber and on his band mill. They turned out well. I planned on painting the underside white to help with lighting but am tempted to leave them unfinished because of how pretty they turned out. We’ll see.
The back wall will be covered with more planed Ash boards, but vertical, like barn siding. The side walls will be covered with drywall on the lower half and white peg board on top. I’ll have two different work benches under the barn lights, one about 8’ long and one 10’ long 90 degrees of each other. They will be built at two different height levels. There will also be a small closet added along the back wall in the corner.
There’s still a lot to get done finishing the shop out and I actually enjoy working on it, even though things are progressing slowly. Money and time has a lot to do with that. But, on these hot summer days, it’s quite nice to open up the doors and windows, sit back in a lawn chair with the fan oscillating on high, and slowly sip a large glass of tea. Fine times for a weary body, for sure. One bonus is that I can also drag my BBQ grill in there when cooking out and it decides to rain.
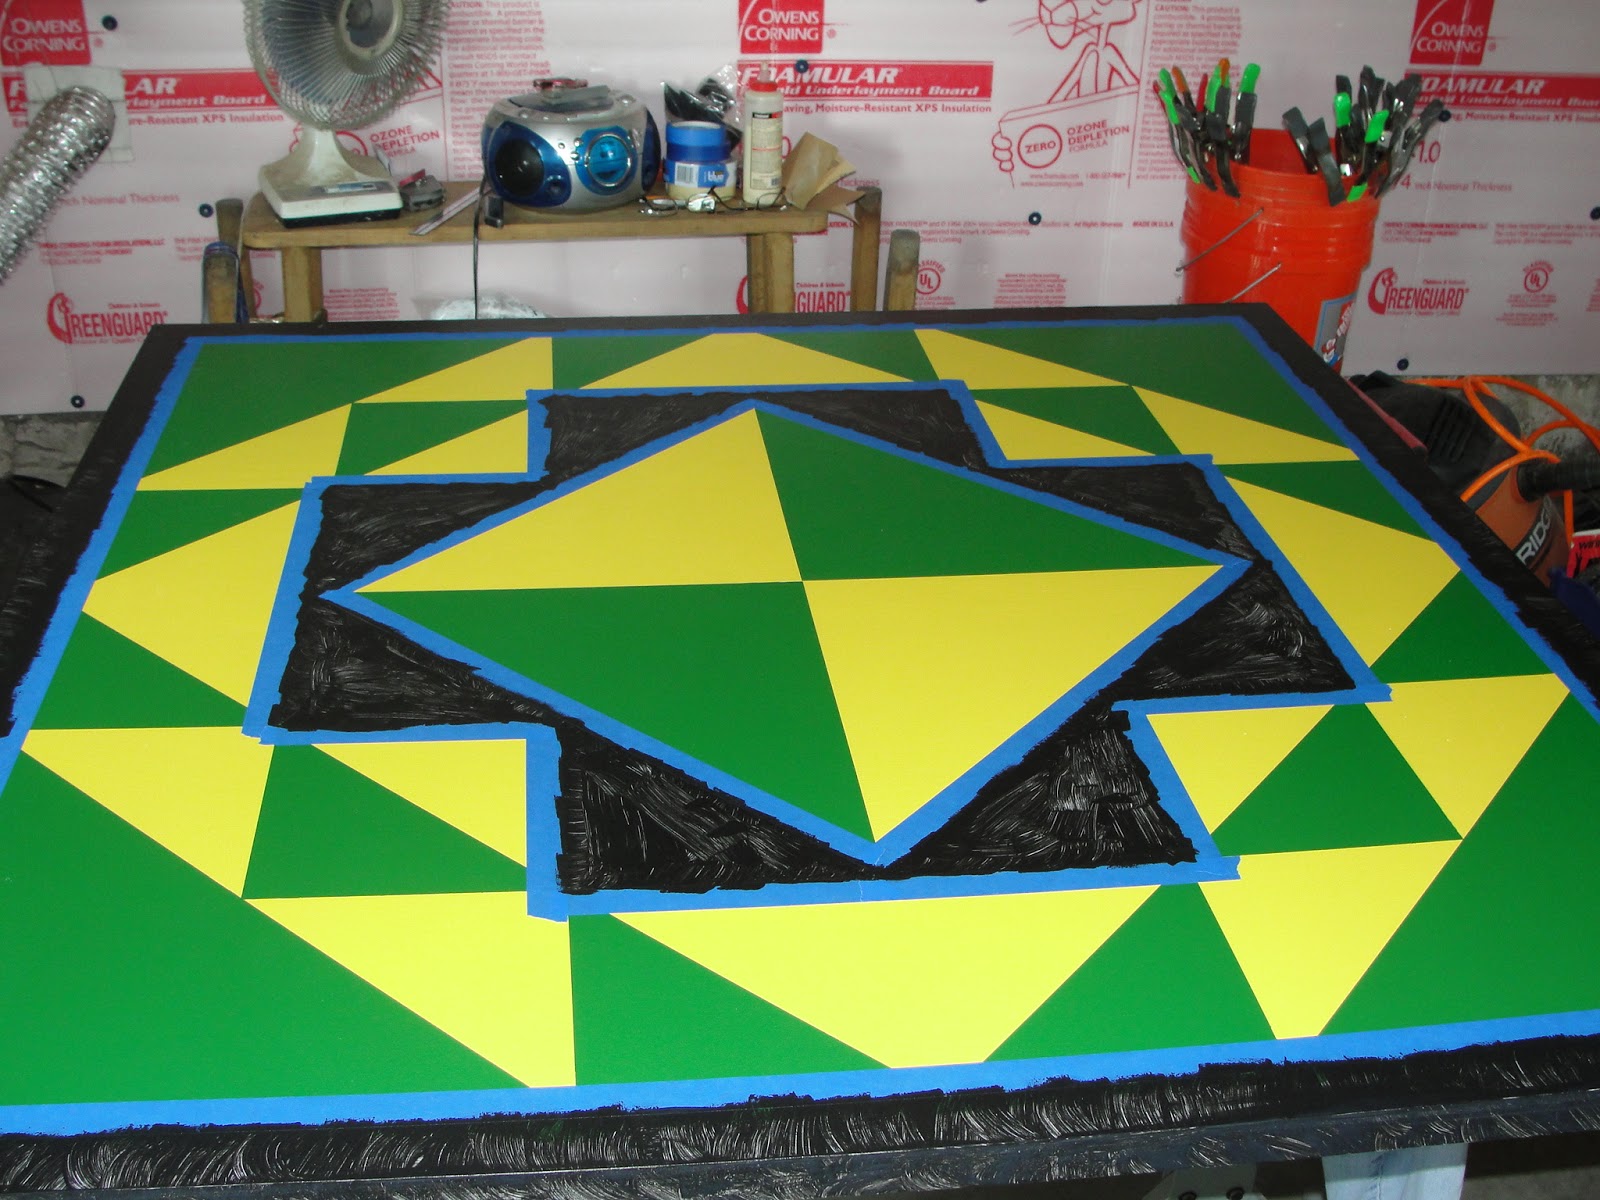
It’s a tight fit in there right now but it’s a good space for working on 4’ x 4’ barn quilt blocks. My hope is that I can make an 8’ x 8’ one in there as well. It will REALLY be tight then! I may have to work on half of it at a time. I try and get out in the shop by 5:30 each morning and work for about an hour before I head to my job. It’s cooler then but I can’t use a lot of loud power tools to wake my family or the neighbors. Not that I CAN’T, but, it’s probably not the smartest thing to do.
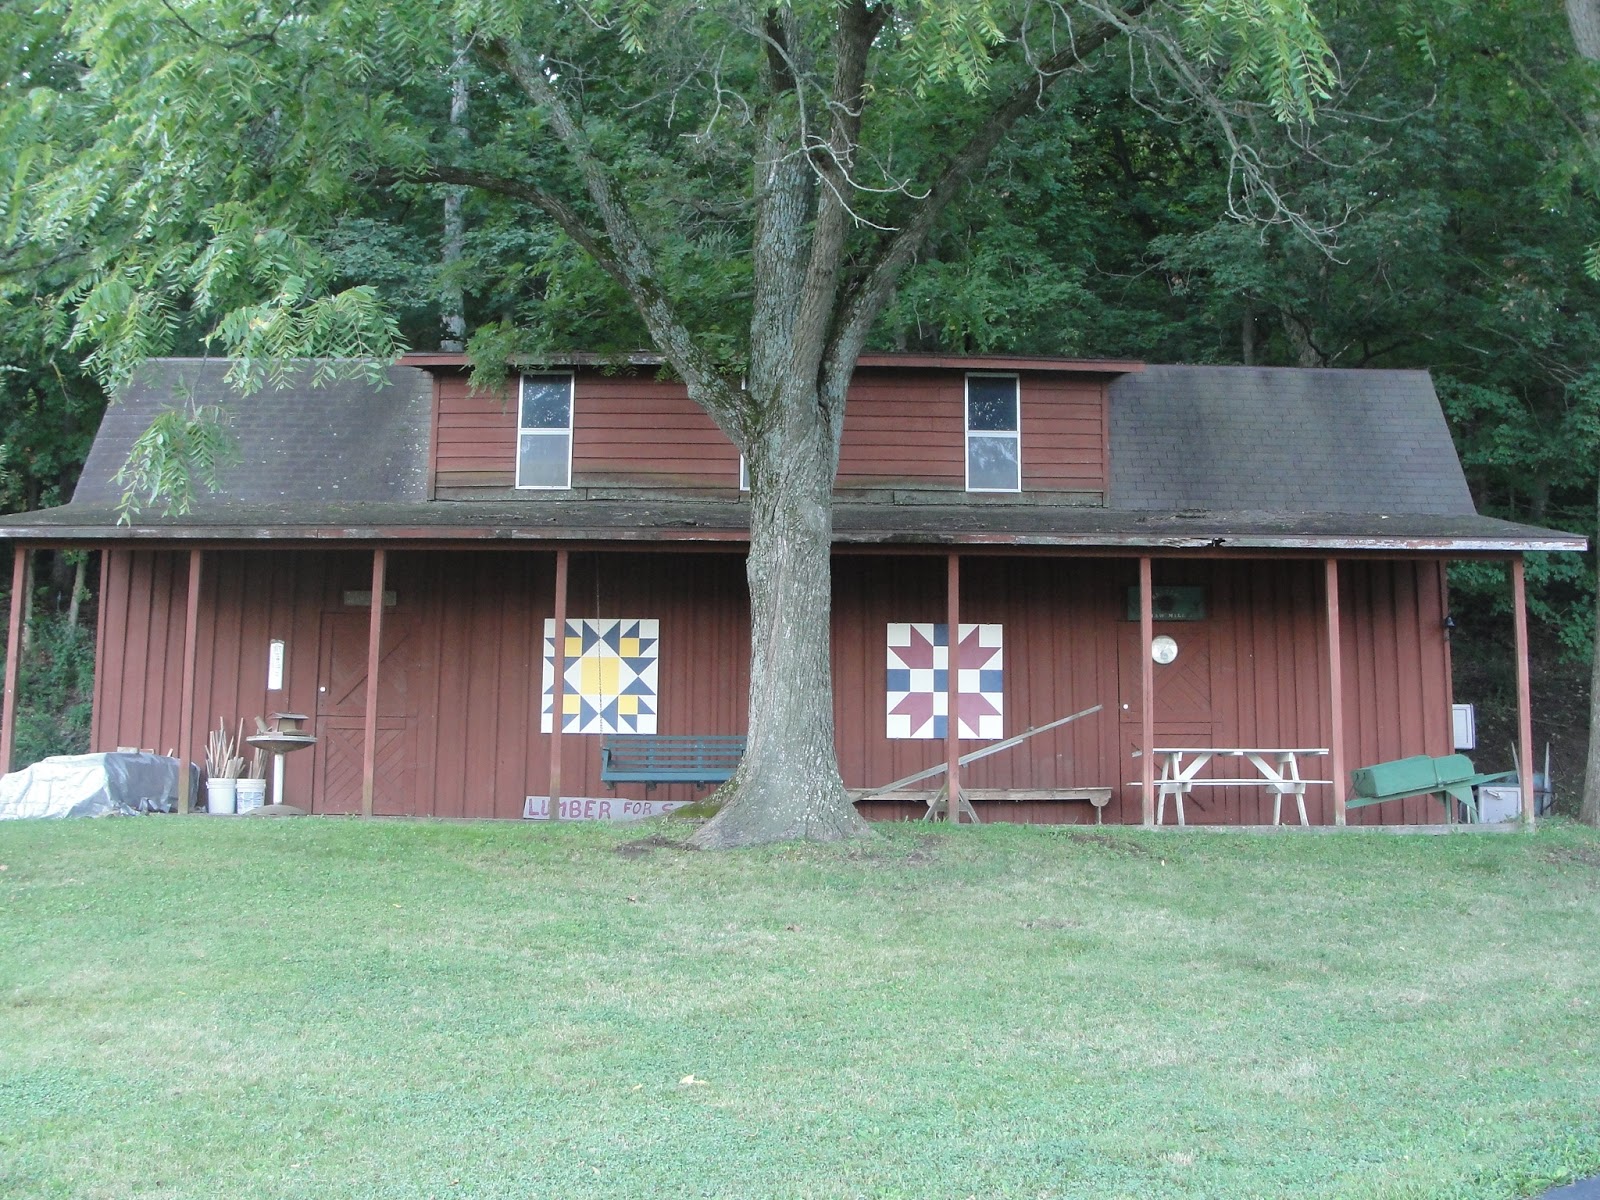
The 4’ x 4’ board in the picture will be painted in the “Corn and Beans” design and, hopefully, be sold at a local business. This is the last piece of hardwood birch I have and will start using MDO boards in the future. I’ll show you the finished product soon.
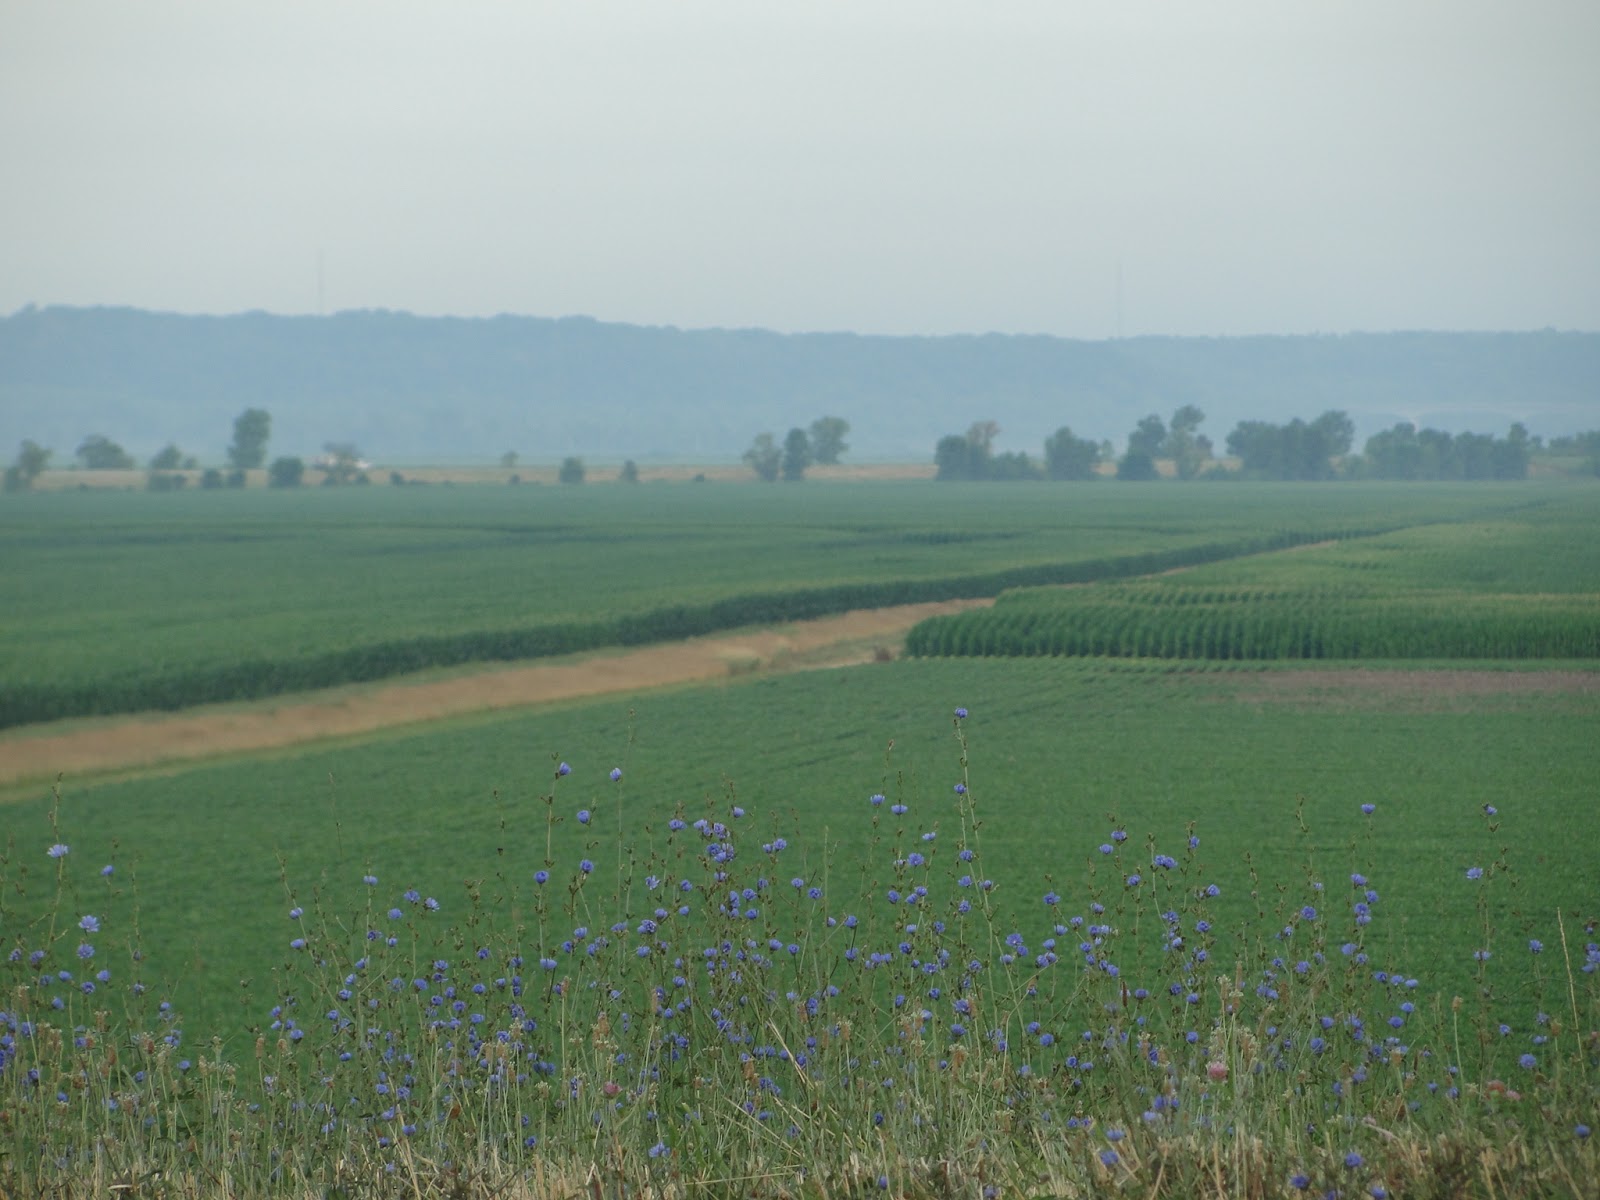
To add a little variety to my blog, I’ll post things, like this shop construction, that are not always about barn quilts. I plan to visit local farms and post something about their history and their barns. I think my previous post about the Logsdon farm will be a good example of this even though it’s situated two counties away. A barn quilt’s worth seeing and knowing about where ever it’s at, right?
A future plan is to try and enlist help to eventually establish a Barn Quilt Trail in my county of Scott. This will take a lot of work but I know it will be beneficial to our area in many ways. That will be a good winter time project. More on that later.
Thanks for looking and may God richly bless your day.
Mark